Preparation and ordering of Premium photo calendars via our online editor
Creating your own photo calendar is an interesting process on the one hand, but on the other hand it is a job that no one else will do instead of you. Our online editor is not just a set of ready-made templates, which means you can use ready-made design solutions - but you have the opportunity to prepare your own unique project from the beginning.
Preparing a photo calendar in the online editor is quite simple, but you still have to create it. We assume that the user has basic skills in working with the mouse, is able to use it to move elements and resize them. And most importantly, the user should read these instructions, as it will really save you time and avoid mistakes.
Terms that will be used in these guidelines.
Photocontainer - the location where the user's photo will be placed. You can change the size, orientation, and number of photo containers on each page.

Background is the bottom layer on the page that extends beyond the page. Any image, including user photos, can be used as a background.
Clipart - an image (most often a drawing) that is used to decorate a page
Frame - a picture with a carved central part for decorating a photograph, connected with a photo container.
Calendar grid - a table with dates for one week or one month. The user can change the layout and design of the elements, the year of the calendar, enable or disable the display of days of the week, change the language of the grid, enable the display of holidays for one or more countries.

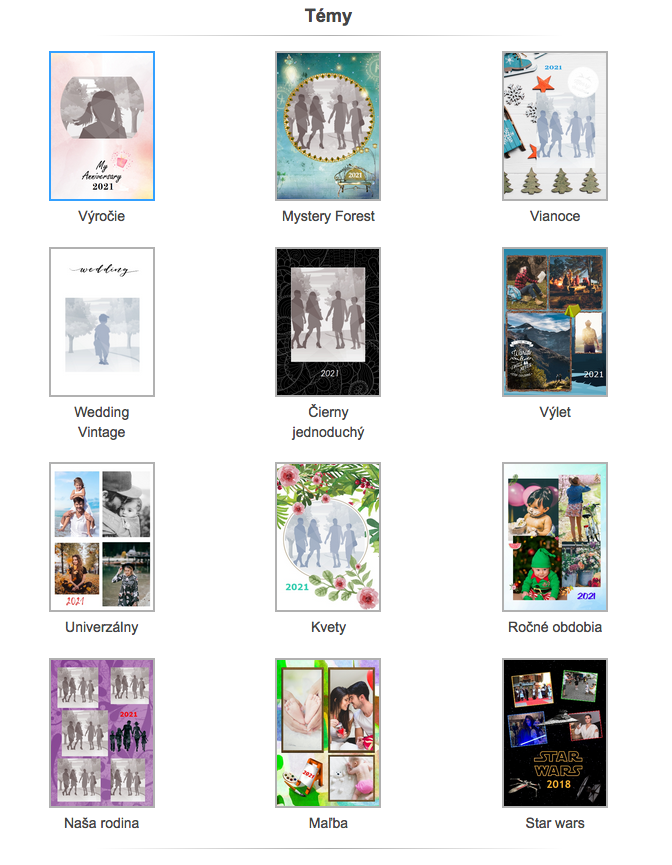
Template (theme) – a set of backgrounds, photo containers, artifacts, texts and calendar grids for all calendar pages prepared in the same style.
Photoset – a set of photos for one project. It is allowed to use photos from any previously uploaded photo set in the project.
Editor mode – 5 clicks, Creative, Fantasy - differs in the possibilities of editing and uploading your own elements.

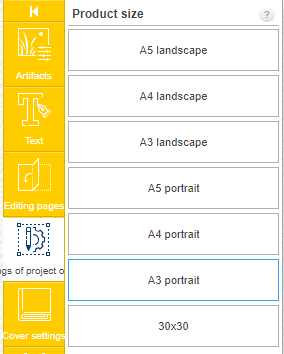
Dimensions of calendars: A3 (297 × 420 mm), A4 (210 × 297 mm), A5 (148 × 210 mm) portrait and landscape, square 300 × 300 mm
I. Online editor restrictions
The online editor supports the following photo formats: JPG, JPEG and PNG
The number of photos is limited only by the space allocated to each user on the server (2 GB).
The size of one photo cannot exceed 20 MB or 30 megapixels (6000 × 5000)
The color tones that the user sees on the monitor screen (RGB color space) may differ from those printed on the monitor (CMYK color space). Why is this happening - find out at at this link
The time of saving the ordered project is 400 days, of the unordered project - 120 days. After this time, it will be deleted automatically. The print house reserves the right to remove the product earlier due to lack of server space.
II. What do you need to prepare before creating a calendar?
II.1. Make the choice of the size and the orientation of the photo calendar
Browse through the templates and find the one that seems best for you. To do this, click the "Create" button to the right of the selected type of calendar, on the page that opens, by clicking the mouse, mark the size and orientation and click on the "Select design"

All templates (themes) are grouped into categories, you can display only the one you want.

Click the button at the bottom left of the theme icon
and a topic preview window opens.

You can either close this window or press "Apply new design"to use this template for a photo calendar.
II.3. Think in advance how many and what photos will actually be on each page of the photo calendar. If you plan to prepare several different photo calendars, create a separate folder for each and copy photos to it. We recommend renaming them as follows (but of course you don't have to do it!): If you plan to place 4 photos on the cover (page 0) - name them 00a, 00b, 00c and 00d, if there are two photos on the 1st page - name them 01a and 01b, etc.
III. Simple manual for preparing a PREMIUM photo calendar
III.1.If you have definitely decided to create a photo calendar, we recommend to register or sign in to your account
Logging in to your account will allow you to turn on the automatic saving of the photo calendar after a certain time interval and prepare several projects at the same time.

If an unregistered user has not deleted cookies, his project will be saved for one week. When you go back to our online editor online.tarawera.sk, even without registration, the button

will appear and after clicking on it, you will return to the main window of the online editor.
III.2. Select "Wall PREMIUM" in the tab "Calendars" either click the button "Create" next to the product "Wall PREMIUM"

III.3. Click to highlight format and orientation, and click "Select design"
III.4. On the left are the templates (themes), sorted by category. Clicking on a selected theme category will only display theme in that category. Templates (themes) covers are displayed on the right.
Click the button at the bottom left of the theme icon
and a topic preview window opens.
You can either close this window or press "Apply new design"to use this template for a photo calendar.
If you have returned to the previous window, select the theme with the left mouse button and click "Create".
III.5. In a new browser window, you can upload photos either from your computer or from a social network.

The progress of the uploading is displayed on the screen

Wait for all photos to be uploaded to the server and press "Add photos to photoset".

III. 6. Wait for all photos to be uploaded to the editor!
You will see the progress of the uploading below.
In case of making changes before its completion, the uploading will be interrupted!!!

When the photo upload is completed successfully, the information about it will appear in the upper right corner. We recommend that you log in to your account or register so that you can save the product and not lose work results if you disconnect from the Internet accidently.

We also recommend that you turn on automatic photo calendar saving.
Now everything is ready to create a photo calendar
The calendar is created by default on the NEXT year
III.7. If you are completely satisfied with the chosen template, it will take you a few minutes to easily create a calendar. First, you need to place the photos in the photo container. This can be done manually - by dragging each photo to the photo container on the relevant page or (especially if you have renamed all photos as described in section II.3 (What do you need to prepare before creating a calendar?), or if you don't care which page will be a specific photo) by clicking on the button "Autofill". Then all photos sorted according to the method you choose will be automatically transferred to the photo containers from the first to the last page.
III. 8. Don't forget to select the list of holidays in the tab "Calendar options"


You can also easily change the language of the photo calendar if you want.

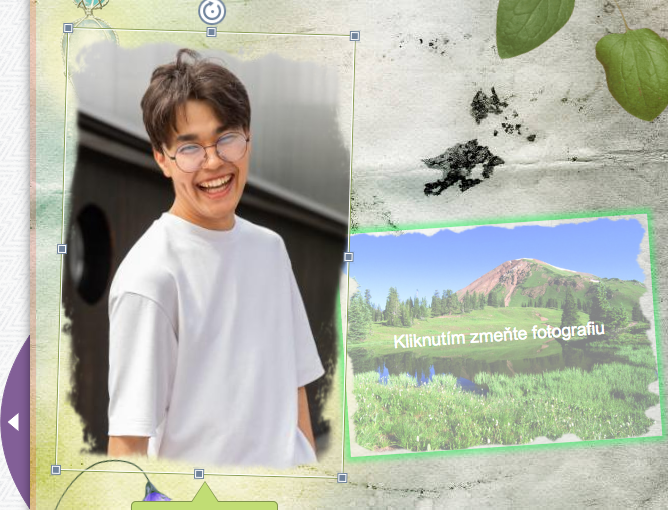
III.9, Check all product pages. When the photo is loaded into the photo container, it is placed as follows - one of the dimensions of the photo will be equal to the size of the photo container, the size of the other dimension will change proportionally to maintain the aspect ratio and the photo will be placed strictly in the center of the photo container.
Therefore, an important part of the photo may end up outside the photo container and you will need to move it manually. To do this, place the mouse on the palm icon in the center of the photo and move it in the desired direction while holding down the left mouse button. When the photo moves to the desired location, release the mouse button

III.10. Photos are sometimes loaded rotated 90 degrees left, right, or upside down. Here's how to change the orientation of a photo:
Method 1

3. Click on the rotation pictogram
Method 2


Method 3

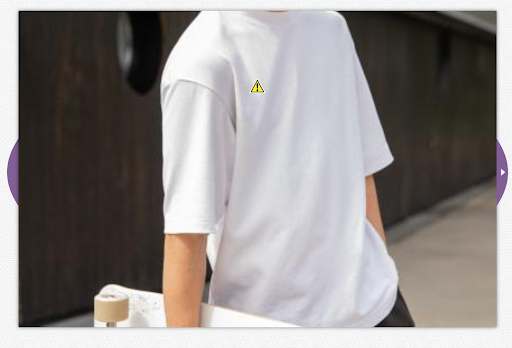
III.11. If the number of pixels in the photo is less than the number of pixels in the photo container, the photo too low icon will appear. To find the maximum allowable photo size, go to "Create" mode and click on this pictogram.

The photo is reduced to the maximum allowable size, after which only the customer decides what to do next - replace the photo, reduce it or leave everything unchanged.
III.12. Postup pre uskutočnenie nákupu a objednania produktu nájdete na at this link
IV. Advanced manual for preparing a PREMIUM photo calendar
If you consider our template only as a basis for your own design, or if you want to improve this design and adapt it to your photos, you have a wide range of options. But first you need to get acquainted with the main window of the online editor.
The main window consists of
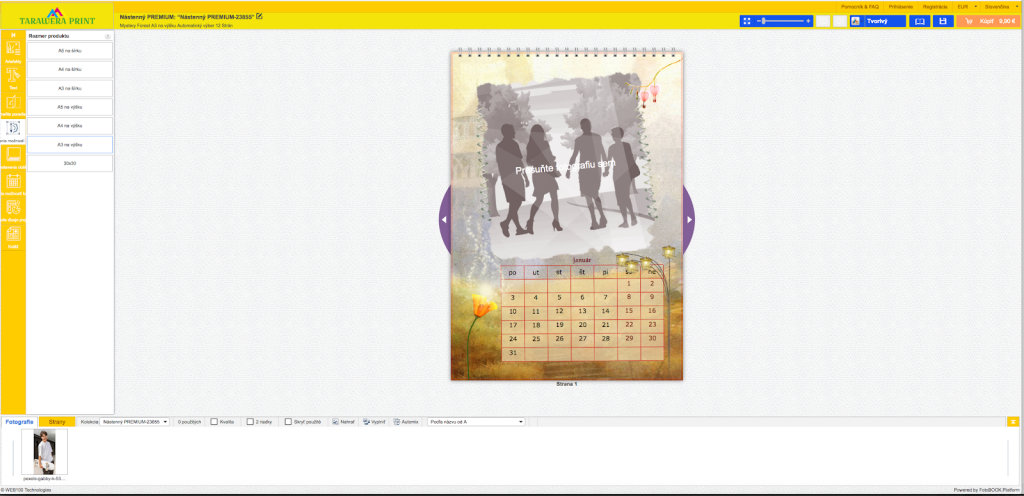
IV.1 top menu

the product name is displayed on the left, you can change it by clicking on the symbol


The title of the topic, the format of the calendar, and the number of pages excluding the cover are listed below

On the right in the top row is- assistant and answers to frequently asked questions
- list of customer products
- list of orders
- personal account
- log out
- currency selection
- editor language selection
In the bottom line is- window size slider
- undo and redo buttons
- online editor mode selection
- switch to display mode
- enable automatic product storage
- product saving
- transition to product purchase
IV.2. bottom menu
tab Photos

shows- the name of the photoset
- the number of photos used in the product
- product quality check box
- check box to allow 2-line displaying of the photos
- check box hide used photos
- upload photos
fill in the product according to the selected order of photos
- fill the product in random order
- select photo sorting type

advanced window for bulk photo processing - click on the yellow arrow
In this window you can:- rotate photos left or right
- copy or move to another photoset
- delete from current photoset
- create a folder in the current photoset
- select all photos
- hide used
- upload more photos
Click the arrow again to return to the main online editor window
- Click the arrow again to return to the main online editor window
You can add a photo to a page not only by moving it to a photo container, but also anywhere on the page outside of existing photo containers. In this case, you will be prompted to add a new photo container or use the photo as a background

tab Pages contains
- product quality check box
- clearing page
- safe zone indication
ATTENTION - DON'T CHANGE PAGES ORDER - the order of the months of the year will change!!!

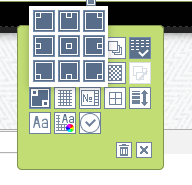
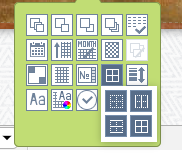
IV.3. left menu All items in the left menu are added to the edit area by dragging the item onto the page or double-clicking. You can add from a tab Artifacts:

IV.3.1. Photocontainer

IV.3.2. Calendar grid

IV.3.3. Frame (you must drag it to the photo container)

IV.3.4. Mask (you must drag it to the photo container)

IV.3.5. Clipart

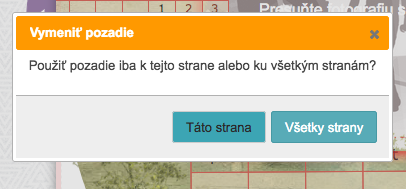
IV.3.6. Background

If you click on the background, you will be prompted to select a background for the current page or for the entire calendar
IV.3.7. Short and long texts
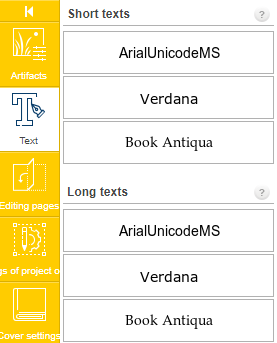
Long texts

as opposed to short ones
have more options for text formatting, bulleted lists and numbered lists, you can use different fonts in the text, etc.
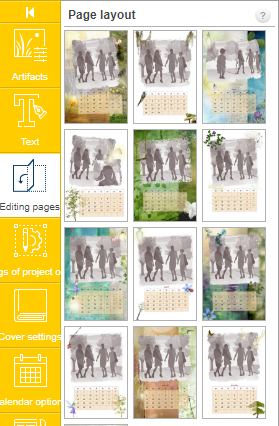
IV.3.8. Pages order
You can change the look of the page to any of the list. If you click on a page layout, you'll be prompted to choose a layout for the current page or for the entire calendar
IV.3.9. Photo calendar size
Caution: If you change only the size, the location and orientation of the photos in the photo containers will not change. But if this also changes the orientation of the photo calendar (from portrait to landscape or square), the number of photos on one side may change and all photo containers will resize on their own, so you will need to edit all the photos again.
IV.3.10. Cover

IV.3.11. Edit or add a calendar grid

IV.3.11.1 Add your own dates Click on "Add"; in the window that opens, enter the date

Click on the box "Figure" and select one of the shapes. If you do not want any of the shapes, ALSO click on the EMPTY shape on the far left

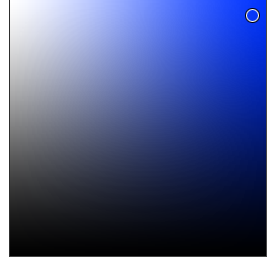
Select the text color and the image color

To do this, click on the "Shape color"
then on the color and button „Continue“. Do the same for the color of the figure.
Type the text of the date signature, if you want, you can check the box "Repeat annually" and press "Apply"

The result looks like this:

the text color will be the same as the holiday text color.
IV.3.11.2. State holidays highlighting
Holidays in the calendar are NOT HIGHLIGHTED by default, this option must be selected manually.
In some browsers, after changing the background, template, etc. public holiday display selection is unavailable. To view them, simply refresh the page of your browser (usually F5 on Windows and Cmd + R on Mac).
Then check the box to the left of the desired list of holidays.
You can enable multiple lists at once. If holidays for different countries are entered on the same day, only one is displayed - the lowest in the list. For example, if you have selected Slovak and Hungarian holidays, the New Year will be displayed in Hungarian - Hungarian holidays are lower in the list than Slovak holidays.
If you have not found the holidays for your country - write to us at info@tarawera.sk and we add them

IV.3.11.3 Project date
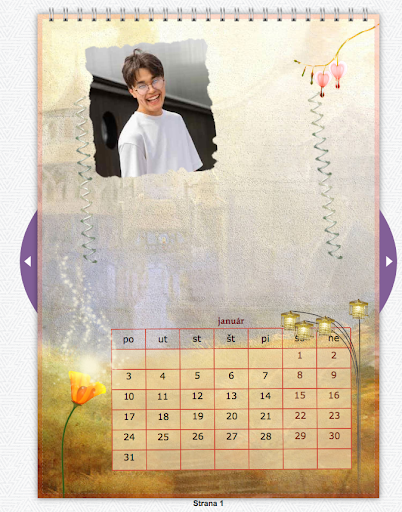
The first month of the calendar is set to JANUARY of the following year by default.
To change the start month and year of the calendar, you must select the month before the start as the project date. For example, you want the calendar to start from May, 2027

Click on the year and month fields. In the window that opens, click on the button with the year in the middle at the top

Then click on 2027

and select April

IV.3.11.4. Project language
Click on the field and change the language of the project
IV.3.11.5 Week starts from
You can choose the starting day of the week from Monday or Sunday

IV.3.11.6. Rows or columns highlighting

For example, if you select odd weeks and you adjust the transparency slider, your calendar grid might look like this

IV.3.11.7. Change the location of holiday signatures

The following options are available:

IV.3.11.8. Change the format of the calendar grid title

The following options are available:

IV.3.11.9. Change calendar orientation

The following options are available:
IV.3.11.10. Change date alignment inside a cell

The following options are available:

IV.3.11.11. Adjust the thickness of the border of the calendar grid
1
Your calendar grid might look like this:

IV.3.11.12. You can enable or disable the display of days of the week, week numbers and dates of adjacent months

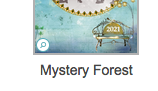
IV.3.12. Change calendar template (theme)

Click on a topic category or leave all topics, select the one you like, a window with a preview of the topic will open
Scroll through the pages and either close the window or click the button "Use new design". You have three options:

- leave all photos in all photo containers, but their number and location will change, so you will need to edit all photos again
- delete all photos from photo containers
- return to the current template without change
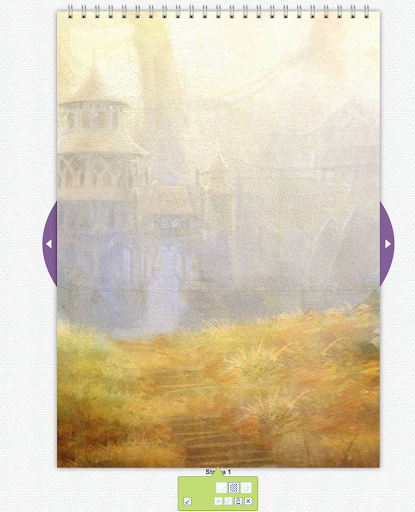
IV.4. The editing area in calendars is displayed page by page, page lipping - using the left and right buttons. By default, the first page with the envelope in front of you opens.
Môžete upraviť nasledujúce prvky:

IV.4.1. Background
To do this, double-click anywhere in the background.
You can:
IV.4.1.1. Change background opacity

IV.4.1.2. Delete background
IV.4.2. You can modify a photo inside a photo container
IV.4.2.1. Relocate.
Kliknite na ikonku dlane a potiahnite ju myšou

IV.4.2.3. Delete

upload another photo

IV.4.3. Photo container
Click anywhere on the photo container.
You can:

IV.4.3.1. Rotate.

IV.4.2.2. Relocate with the mouse
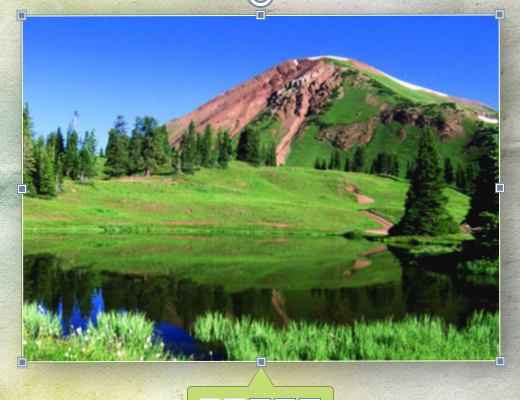
IV.4.3.3. Click on one of the six anchor points to resize

IV.4.2.4. Move to background

IV.4.2.5. Move one layer down

IV.4.2.8. Move to foreground

IV.4.3.7. Change opacity


IV.4.3.8. Swap photos on the current page. Click this icon and then the photo container to which you want to move the current photo.


IV.4.3.9. Add rounding to the corners of the photo container.


IV.4.3.10. If you resized the photo, you can easily return it to its original parameters.

IV.4.3.11. Resize photo.


IV.4.3.12. Rotate photo.


IV.4.3.13. Add a shadow and set its parameters.


IV.4.3.14. Return the original attributes of the photo container.

IV.4.3.15. Remove the mask.

IV.4.3.16. Delete frame

IV.4.3.17. Delete photo.

IV.4.3.18. Delete the photo container.

IV.4.4. Clipart Click anywhere on the clip art. You can:
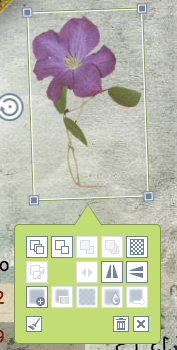
IV.4.4.1. Rotate.

IV.4.4.2. Relocate with the mouse
IV.4.4.3. Click on one of the six anchor points to resize
IV.4.4.4. Move to background
IV.4.4.5. Move one layer down
IV.4.4.6. Move one layer up

IV.4.4.7. Move to foreground
IV.4.4.8. Change opacity
IV.4.4.9. Mirror off.


IV.4.4.10. Add a shadow and set its parameters.


IV.4.4.11. Return the original attributes

IV.4.4.12. Delete element

IV.4.5. Calendar grid
Click anywhere on the grid.
You can:

IV.4.5.1. Move to another layer


IV.4.5.2. Show or hide the dates of neighboring months.


IV.4.5.3. Change the month of the current calendar grid


IV.4.5.4. Change calendar orientation


IV.4.5.5. Change title format.


IV.4.5.6. Change opacity

IV.4.5.7. Change date alignment inside a cell

IV.4.5.8. Show the names of the days of the week

IV.4.5.9. Show week numbers

IV.4.5.10. Set calendar grid borders.

IV.4.5.11. Adjust the thickness of the border of the calendar grid

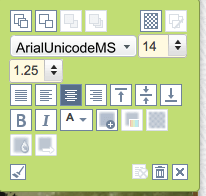
IV.4.5.12. Set the font for each calendar grid item


IV.4.5.13. Change the color scheme of calendar grid items.


IV.4.5.14. Apply settings for all months.

