Preparation and ordering of photos via an online editor
Why does the customer have to order photos via an online editor? Why can't he just send photos through the vault - would the print house prepare the photos on its own?
No. And we have some reasons for this.
1. Photos placement
the aspect ratio of your photo may differ from the aspect ratio of the product

and an important part of the photo will be outside the photo container
or it will be rotated incorrectly too

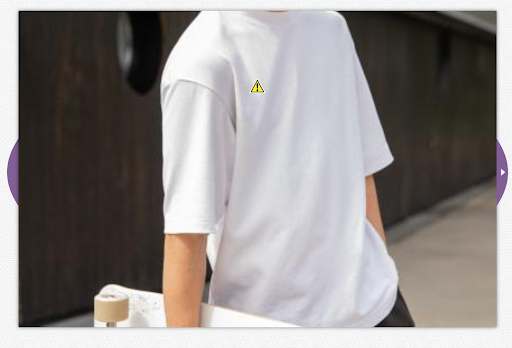
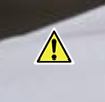
2. Photo resolution may be too low, in this case you will see this pictogram. Next you have to decide - either you change the photo, or you leave it as it is. You can find the procedure below.
Online editor restrictions
The online editor supports the following photo formats: JPG, JPEG and PNG
The number of photos for one package depends on the size of photos and will be listed during format selection. The total number of photos and packages is limited only by the space allocated to each user on the server (2 GB).
The size of one photo cannot exceed 20 MB or 30 megapixels (6000 × 5000)
The color tones that the user sees on the monitor screen (RGB color space) may differ from those printed on the monitor (CMYK color space). Why is this happening - find out at at this link
The time of saving the ordered project is 400 days, of the unordered project - 120 days. After this time, it will be deleted automatically. The print house reserves the right to remove the product earlier due to lack of server space.
Procedure
We recommend that before you start preparing your photos register or sign in.
Photos are printed in packages, so you must upload them in packages.
Each format has the exact number of pieces per package. Therefore, divide all your photos in such a way that there are only photos for one package in one folder on your computer. If there are more than one in one package, only the first in order will get to the editor and to the print.- In the part "Photos" click "Create"
- Select one of the photo formats and click "Select design" and "Create"
- Upload photo files by dragging them to the center or pressing the button "Select files"
- Wait for all photos to be uploaded to the server and press "Add photos to photoset"
- Wait for all your photos to be uploaded to the photo set. At the top you will see the information that the photos were successfully uploaded and at the bottom you will see thumbnails of all the photos

- You have two ways to add photos to your product: Click the highlighted button to automatically place the photos or manually move the photos to the photo set.

- We recommend that you save the product. If you continue to edit photos, click the highlighted button to turn on autosave. This means that your project will be saved periodically.
- Check all product pages. When the photo is loaded into the photo container, it is placed as follows - one of the dimensions of the photo will be equal to the size of the photo container, the size of the other dimension will change proportionally to maintain the aspect ratio and the photo will be placed strictly in the center of the photo container.
Therefore, an important part of the photo may end up outside the photo container and you will need to move it manually. To do this, place the mouse on the palm icon in the center of the photo and move it in the desired direction while holding down the left mouse button. When the photo moves to the desired location, release the mouse button
9. Photos are sometimes loaded rotated 90 degrees left, right, or upside down. Here's how to change the orientation of a photo:
Method 1
1. Click the yellow arrow at the bottom left
2. Switch to photo editing mode; check all the photos you want to rotate evenly by checking the box at the bottom left of the photo

3. Click on the rotation pictogram
click the yellow arrow again to return to the main editor window
Method 2
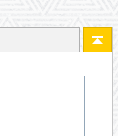
Click on the symbol in the lower right corner of one photo

and select the direction of rotation

Method 3
Click on the photo container

and in the window that opens at the bottom, click on the rotation pictogram
10. If the number of pixels in the photo is less than the number of pixels in the photo container, the photo too low pictogram is displayed. We recommend uploading a better quality photo or choosing a smaller photo format.
You can determine in advance whether the photo is of sufficient quality for the selected size. To do this, multiply the number of pixels in the photo by 1.25 to get the approximate size of the photo in centimeters.

11. Editor je nastavený tak, že v fotografiách nemôžete zmeniť rozmer fotokontainera. Ale ak chcete zachovať pôvodný rozmer fotografie, musíte ho zmeniť: vyberte v záložke Artifacts item Photocontainers and drag the new photo container directly onto the existing one, insert a photo into it and adjust the size of the photo container according to your ideas. You will receive a blank page warning during the pre-order check, but this will apply to the original photo container, which is blank.
